A well-built retaining wall transforms sloping yards into usable space, stops soil erosion, and adds serious curb appeal. In this step-by-step guide, you’ll learn how to plan, design, and build a DIY retaining wall in Australia—plus exactly what materials cost in 2026, when you need council approval, and when to call a professional.
Whether you’re in Brisbane, Melbourne, Sydney, or Perth, this guide covers timber sleeper walls, concrete sleeper walls, and interlocking block systems so you can choose the right solution for your site and budget.
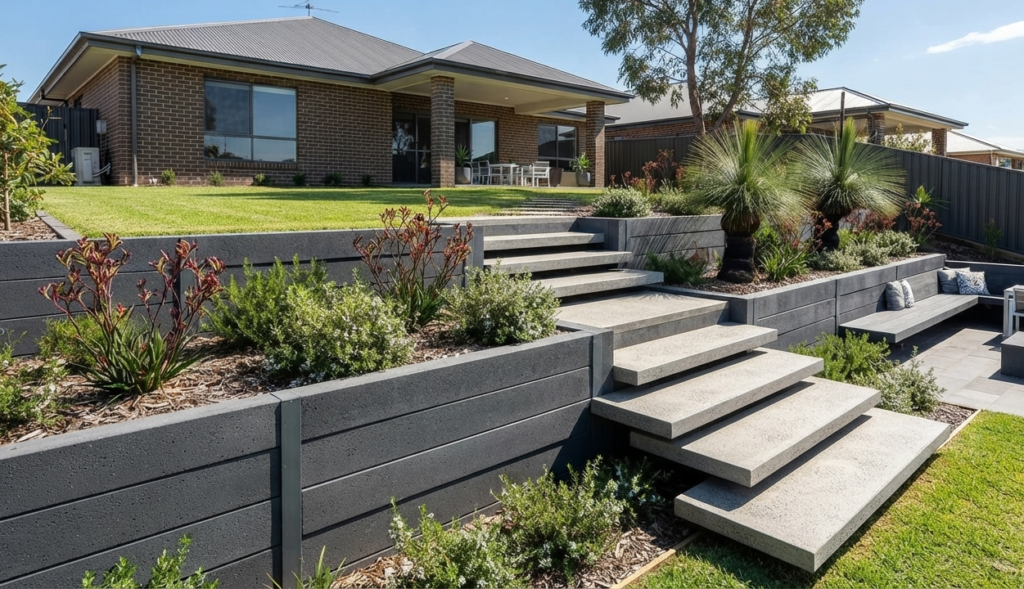
Why Build a Retaining Wall?
Retaining walls are more than just functional—they’re a landscaping investment that can:
- Create flat areas for patios, lawns, or garden beds on sloping blocks
- Prevent soil erosion and protect foundations from water runoff
- Add seating, steps, fire pits, or built-in planters for extra functionality
- Increase property value by improving usability and visual appeal
For many Australian homeowners, a small to medium wall (under 1 metre) is a realistic weekend DIY project with the right planning and tools.
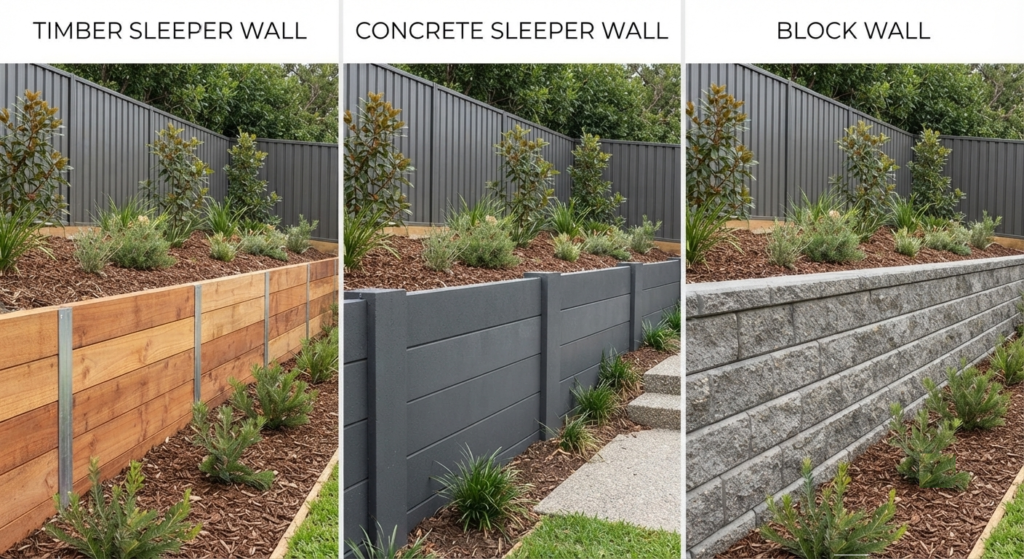
Retaining Wall Materials Compared: Timber vs Concrete vs Blocks
Choosing the right material is the most important decision you’ll make. Here’s how the main options stack up in 2026.
| Material | Best For | Max DIY Height* | Lifespan | Cost (installed, 1m high) | Maintenance |
| Treated pine timber sleepers (H4) | Budget-friendly, garden walls under 600mm | ~0.6–1.0m | 15–25 years | $200–$350 per lineal metre | Moderate (re-seal every 3–5 years) |
| Hardwood timber sleepers | Natural look, medium-duty walls | ~0.8–1.2m | 20–30 years | $330–$925 per lineal metre | Moderate |
| Concrete sleepers with steel posts | Durability, walls 600mm–2m+ | ~1.0–2.0m+ | 50+ years | $350–$500 per lineal metre | Very low |
| Interlocking concrete blocks (e.g., Adbri Versawall) | Curved walls, terracing, DIY-friendly | ~0.8–1.2m (unreinforced) | 30–50+ years | $180–$260 per lineal metre (500mm high) | Low |
| Besser/core-filled concrete block | Engineered walls over 1.2m | 1.2m–2.0m+ (with engineering) | 50+ years | $480–$720 per lineal metre (1m high) | Low |
| Natural stone/sandstone | Premium feature walls | Varies (often engineered) | 50+ years | $750–$1,300 per lineal metre (1m high) | Low–moderate |
DIY heights assume no surcharge loads (no driveways, pools, or structures above). Walls over 1 metre or near boundaries often require council approval and engineering.
Quick rule of thumb:
- Under 600mm and budget-conscious → timber sleepers
- 600mm–1.5m and want low maintenance → concrete sleepers or interlocking blocks
- Over 1.5m or supporting a surcharge → engineered concrete or block wall with a structural certificate
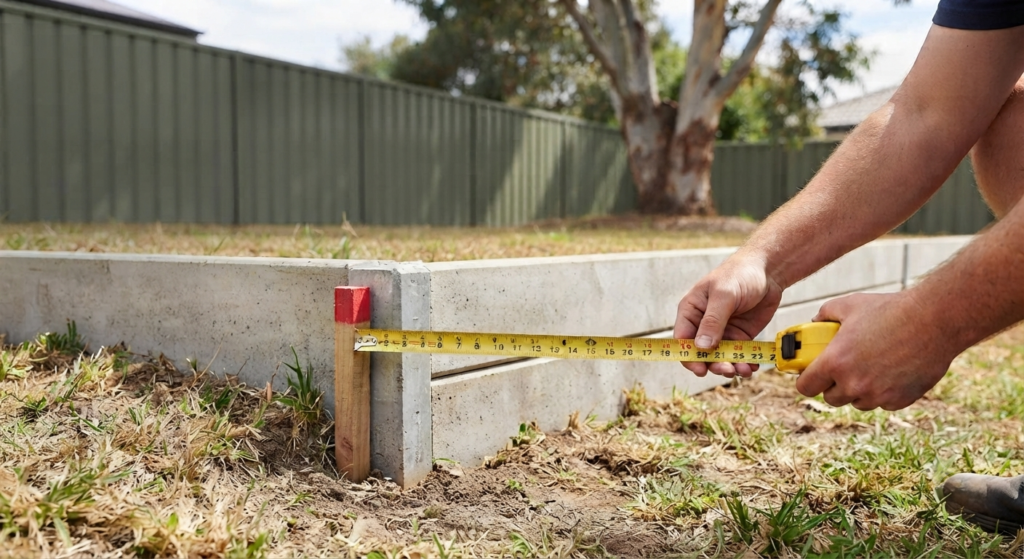
Do You Need Council Approval for a Retaining Wall in Australia?
Yes—sometimes. Rules vary by state, but these are the 2026 thresholds you need to know.
NSW
- Over 600mm above ground level → requires a Complying Development Certificate (CDC) or Development Application (DA)
- Any height if supporting a surcharge load (driveway, pool, building)
- Special rules apply on boundaries, easements, or in heritage/bushfire zones
Victoria & Queensland
- Under 1.0 metre and not supporting a surcharge → usually exempt from a building permit
- 1.0 metre or higher → building permit required
- Any height if supporting a surcharge or near an easement → permit required
General triggers across Australia
- Wall height over 0.6m on or near a boundary (VIC)
- Supporting driveways, pools, fences, or structures
- Located in flood, bushfire (BAL), or heritage overlay zones
Always check with your local council or a private certifier before digging. Permit costs typically range from $500–$1,500 depending on state and complexity.
Step-by-Step: How to Build a DIY Retaining Wall
This workflow applies to timber, concrete sleeper, and interlocking block walls. Specific details vary by system, but the principles are the same.
Step 1: Plan & Check Compliance
- Confirm wall height, length, and purpose (garden bed, patio level change, erosion control)
- Check council rules and permit requirements based on height, surcharge, and location
- Call Dial Before You Dig (1100) to locate underground services before excavation
Step 2: Set Out & Excavate
- Mark the wall line with stakes and string, set to the back face of the wall
- Excavate a trench 75–250mm deep (depending on wall height) and at least 300mm wide for drainage behind the wall
- Remove all grass, roots, and soft topsoil; compact the sub-grade firmly
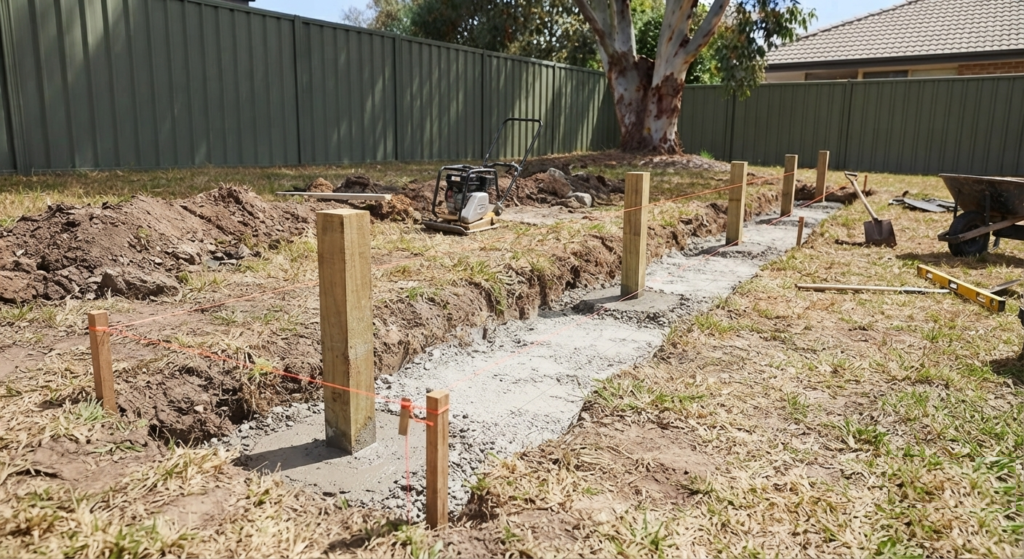
Step 3: Prepare the Base
- For block walls: lay 100–150mm compacted road base, then a 10–15mm bedding sand layer screeded level
- For sleeper walls: dig post holes to the required depth (often equal to the above-ground post height), set posts, and pour concrete footings
- Use a spirit level and string line to ensure the first course or posts are perfectly level and straight
Step 4: Install the First Course
- Timber: Attach the bottom sleeper to posts with corrosion-resistant bolts or screws, checking alignment constantly
- Concrete sleepers: Slide sleepers into steel posts, ensuring they sit level and tight
- Blocks: Bed the first course into the sand layer, tapping with a rubber mallet and checking level every 1–2 blocks
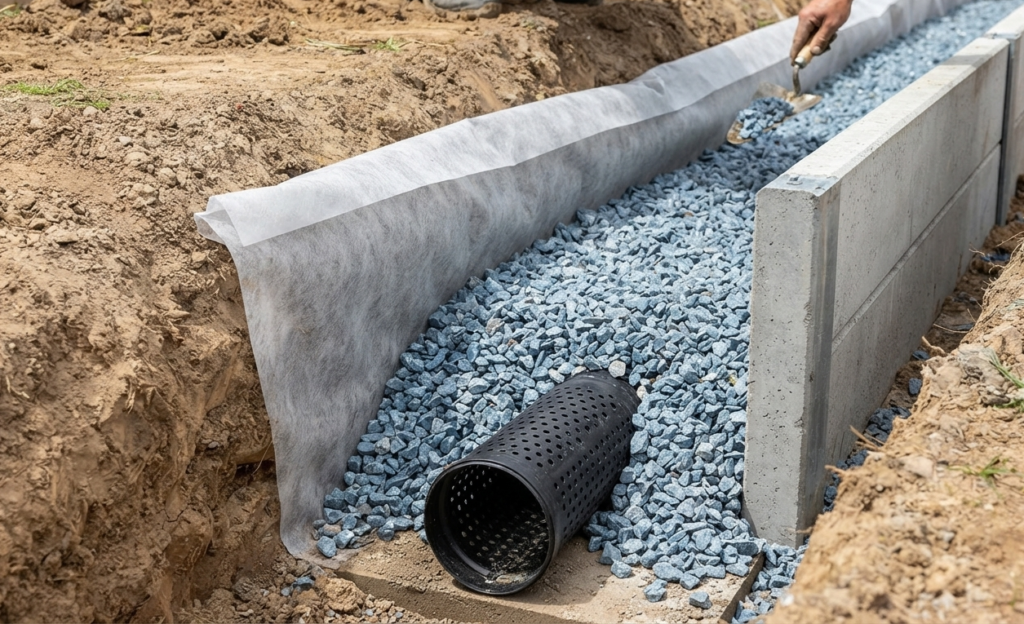
Step 5: Add Drainage & Backfill
- Lay a 100mm PVC ag-pipe with sock behind the wall with a 1:100 fall to daylight or a stormwater drain
- Backfill behind the wall with 200–300mm of clean 10–20mm aggregate to create a drainage zone
- Place geofabric between soil and aggregate if your soil is clay-heavy to prevent clogging
Step 6: Build Up Course by Course
- Continue adding sleepers or blocks, keeping each course level and aligned to your string line
- Fill block cores with aggregate as you go (and every 3rd–4th block if using No Fines Concrete for taller walls)
- For walls over 800mm, consider terracing into two smaller walls rather than one tall wall for better stability and easier DIY
Step 7: Cap & Finish
- Install cap blocks or top sleepers using construction adhesive or tiling cement for a clean, durable finish
- For timber walls, cut posts flush with the top sleeper and consider adding a cap sleeper for seating
- Apply a quality sealer to concrete or timber walls to reduce efflorescence and extend lifespan
Step 8: Surface Drainage & Landscaping
- Ensure surface water doesn’t cascade over the wall; use swale drains or regrade the top if needed
- Add garden beds, steps, lighting, or built-in seating to maximise functionality and visual impact
Retaining Wall Costs in Australia (2026 Update)
Understanding costs helps you budget realistically and avoid mid-project surprises.
Average Installed Costs by Material (1m High)
- Treated pine timber sleeper wall: $200–$350 per lineal metre
- Hardwood timber sleeper wall: $330–$925 per lineal metre
- Concrete sleeper with steel posts: $350–$500 per lineal metre
- Interlocking block (500mm high): $180–$260 per lineal metre
- Interlocking block (1m high with geogrid): $420–$620 per lineal metre
- Besser/core-filled block (1m high): $480–$720 per lineal metre
- Natural stone/sandstone (1m high): $750–$1,300 per lineal metre
What Drives Cost?
- Height and length (taller walls need deeper footings, drainage, and often engineering)
- Site access (tight access, slopes, or poor soil increase labour and machinery time)
- Drainage complexity (long walls, clay soils, or high water tables need more ag-pipe and aggregate)
- Material choice (premium stone or decorative concrete costs more than basic timber or blocks)
As a rough 2026 guide, expect $250–$900 per square metre of wall face for standard residential work, with engineered or feature stone walls pushing higher.
Common Mistakes to Avoid
Even experienced DIYers make these errors. Avoid them to save time, money, and headaches.
- Skipping the permit check: Building without approval can lead to fines or forced removal.
- Poor base preparation: An uneven or uncompacted base causes leaning, cracking, or collapse.
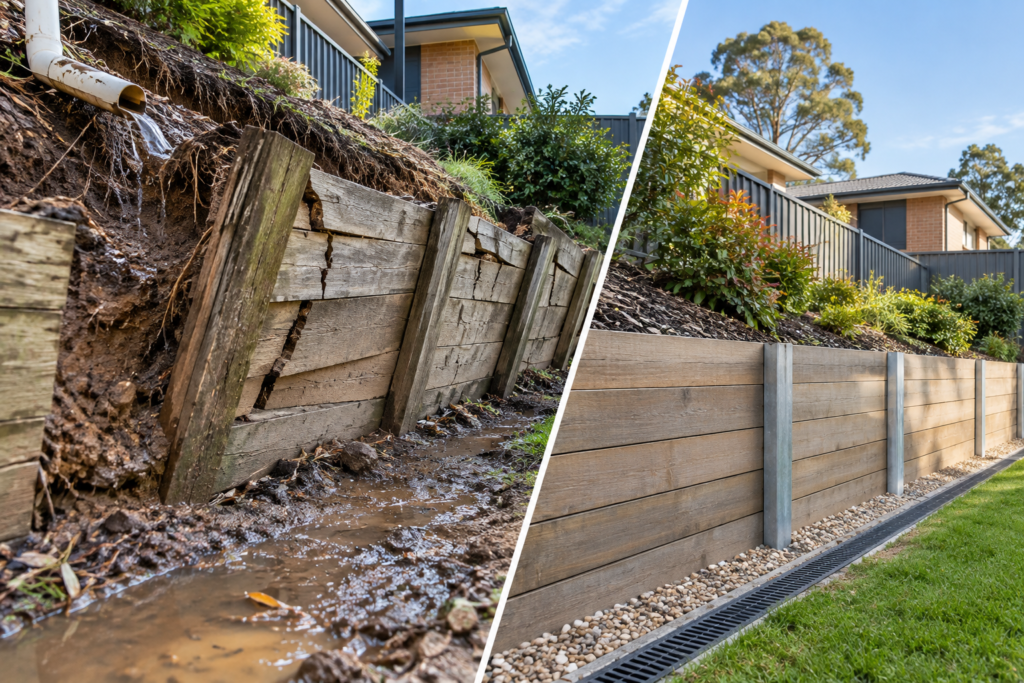
- Inadequate drainage: Water pressure behind the wall is the #1 cause of failure. Always use ag-pipe and free-draining aggregate.
- Building too high without engineering: Walls over 1–1.5m often need structural design and certification.
- Using untreated or under-rated timber: Always use H4-treated timber for in-ground contact; H3 is not sufficient.
When to Call a Professional
DIY is great for small garden walls, but call a licensed landscaper or retaining wall specialist when:
- The wall is over 1 metre high or on a steep slope
- It’s supporting a driveway, pool, fence, or building (surcharge load)
- Your soil is highly reactive clay, or you’re near an easement or boundary
- You want a premium finish (feature stone, complex curves, integrated steps/lighting)
At Urban Stone Works, we design and build concrete sleeper, block, and feature stone retaining walls—from simple DIY-style walls to fully engineered solutions.
FAQs
How long does a DIY retaining wall take?
A small wall (5–8 m²) on solid, level ground can be completed in a weekend with help. Larger or taller walls may take several weekends or require professional installation.
What is the cheapest retaining wall option?
Treated pine timber sleepers are typically the most affordable for walls under 600mm, while interlocking concrete blocks offer great value for slightly taller DIY walls.
How deep should the footing be?
As a rule, excavate 75–250mm for the base depending on wall height, and set posts for sleeper walls to a depth roughly equal to their above-ground height.
Do I need drainage behind every retaining wall?
Yes. Proper drainage (ag-pipe + free-draining aggregate) is critical to prevent hydrostatic pressure and wall failure, especially in clay soils or high-rainfall areas.
Can I build a fence on top of my retaining wall?
Sometimes. Small walls (200–400mm) can often support fence posts through the wall. Taller walls usually require the fence to be built behind the wall with sleeves planned during construction.